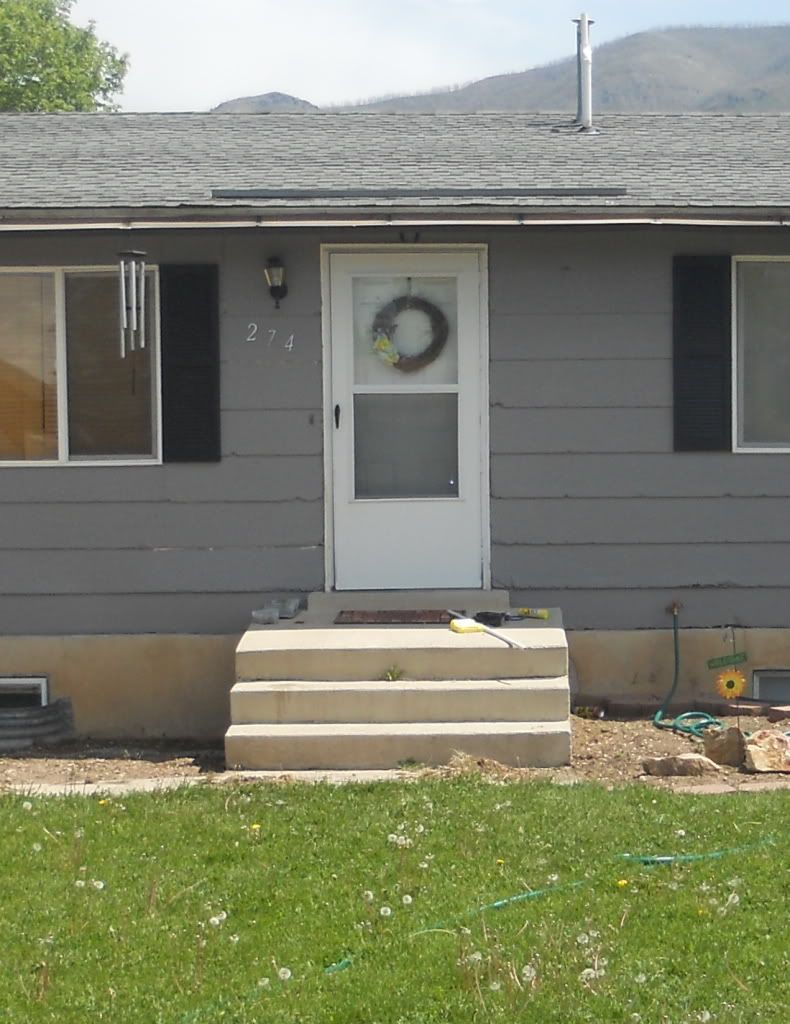
BEFORE:
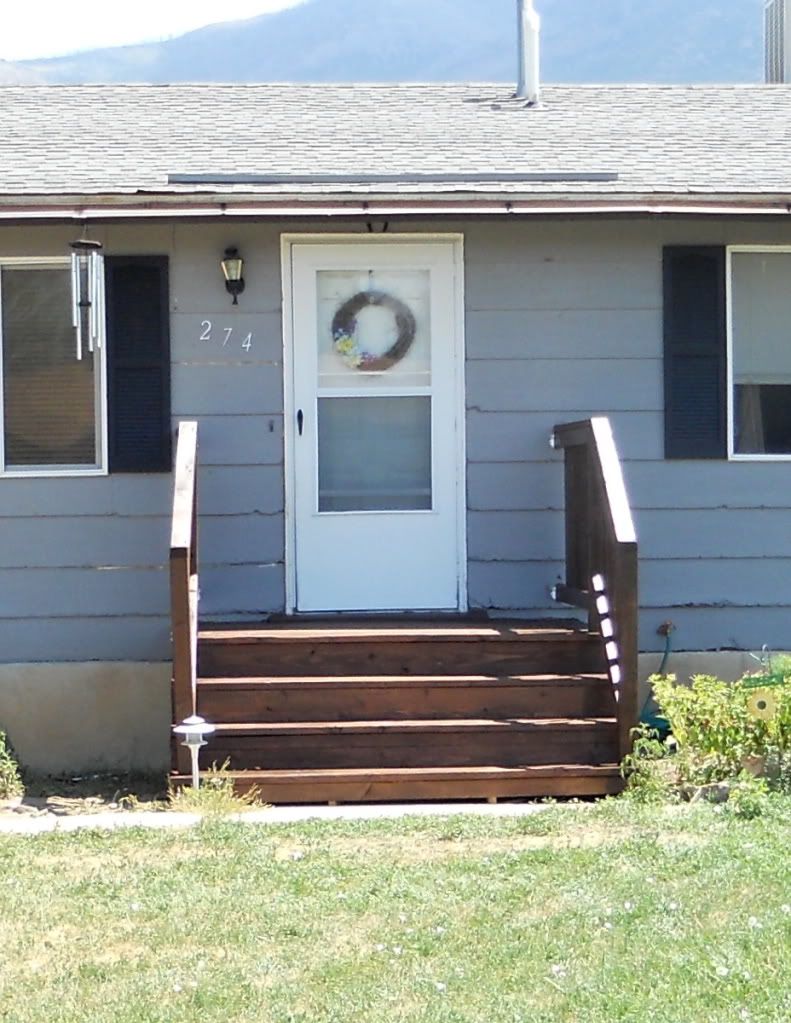
AFTER:
Our previous porch was at a 6% slope. That's a bad slope, just ask semi drivers! And the few people who have fallen down our steps because of it's slope... With winter coming up when I will be oober pregnant, we decided to fix the porch so I wouldn't fall down it. We also wanted to do it before school starts for Josh. So here's how we did it:
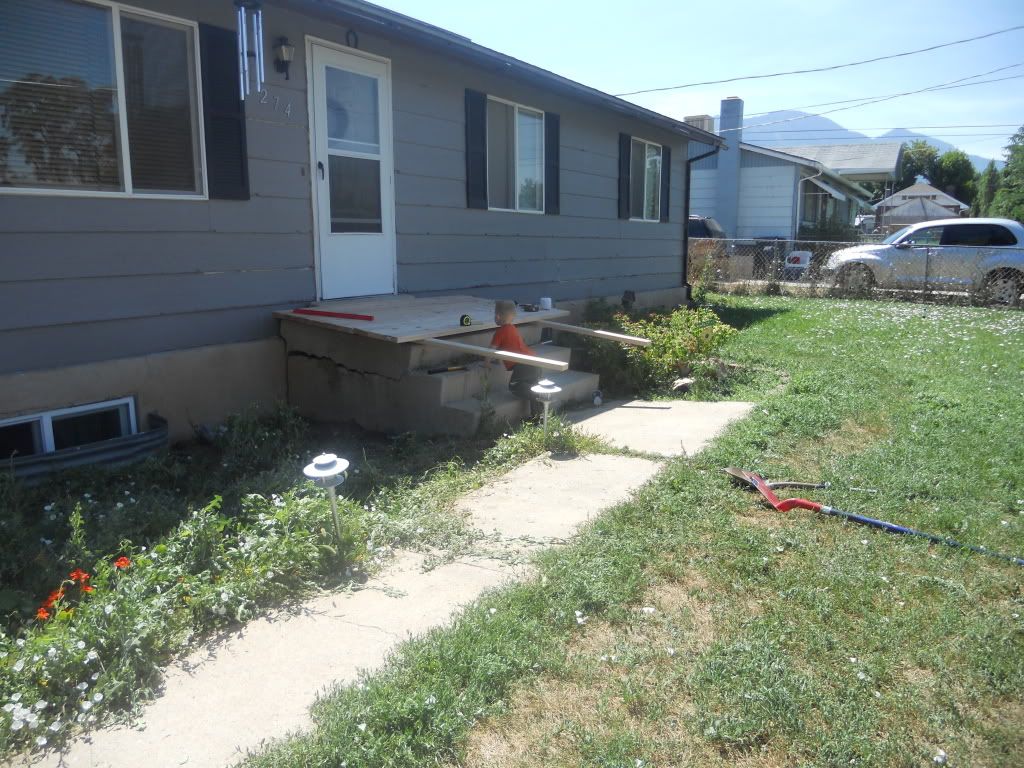
We decided to build over it. This is Quinn figuring out where to put the posts for us :P
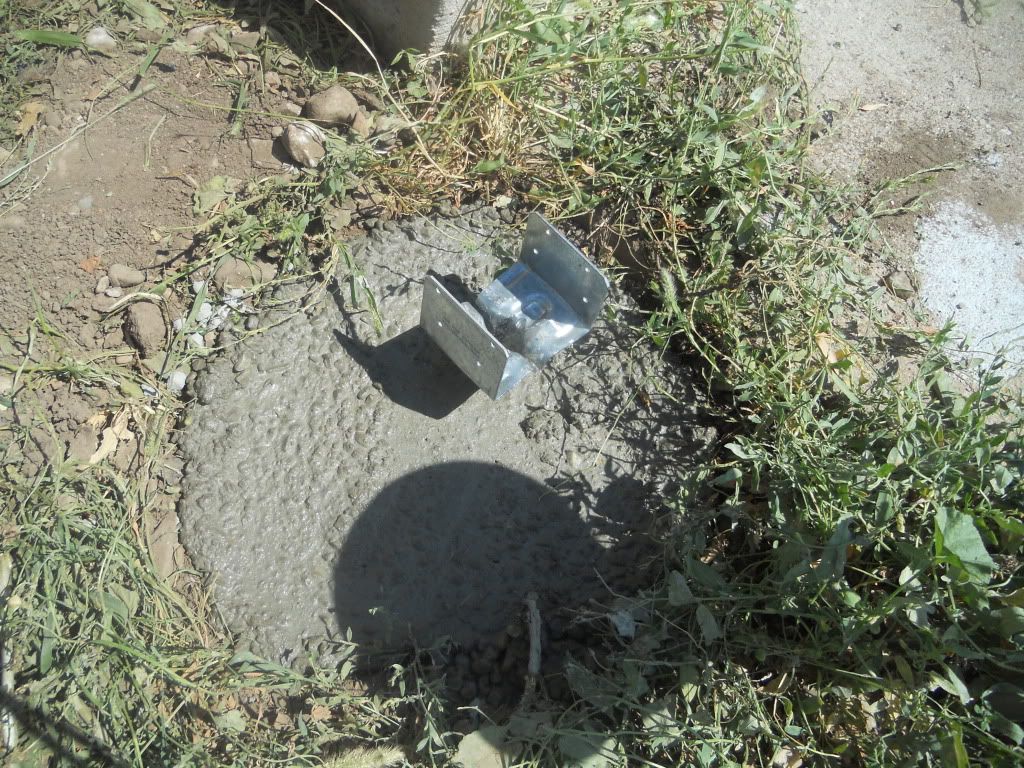
Josh dug holes for these neat deck post holders (they'll keep the wood off the ground, helping them last longer). It took forever to make sure they were in the right place, and to dig through our rocky soil. So we started Thursday night, and got two holes dug and filled with concrete. The next morning we did the next two.
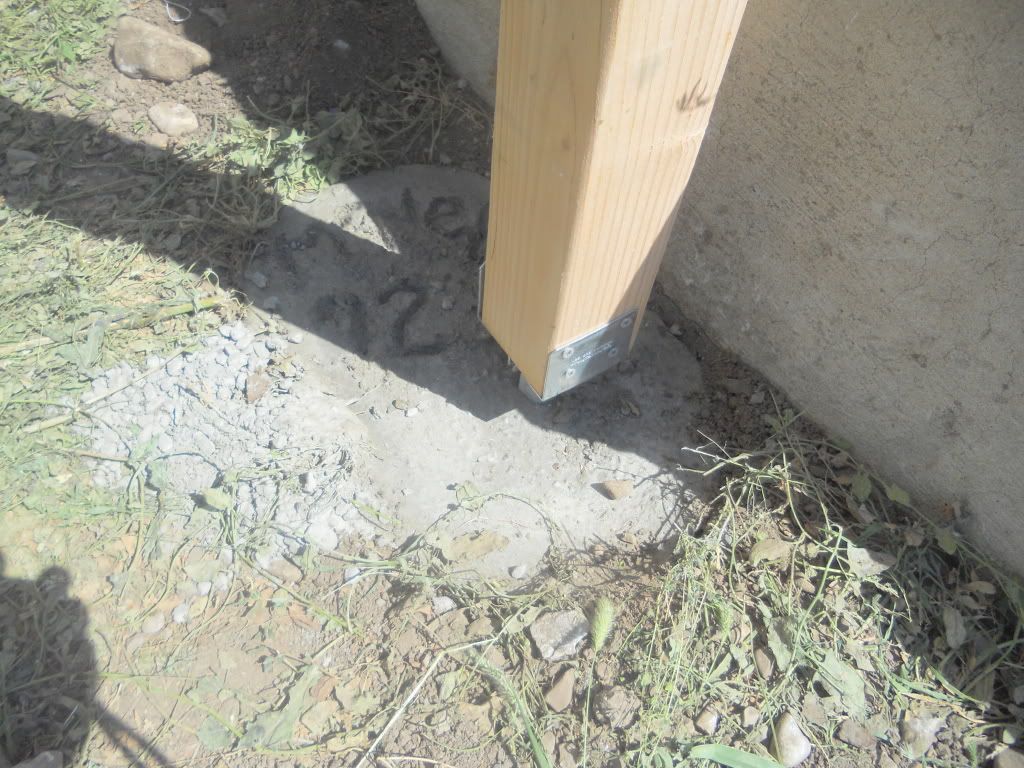
Once the concrete was cured, we were able to put in the posts - and yes, we wrote our name in the cement :)
Once those were in, square to the house, and cut to the right height, this is how it looked:
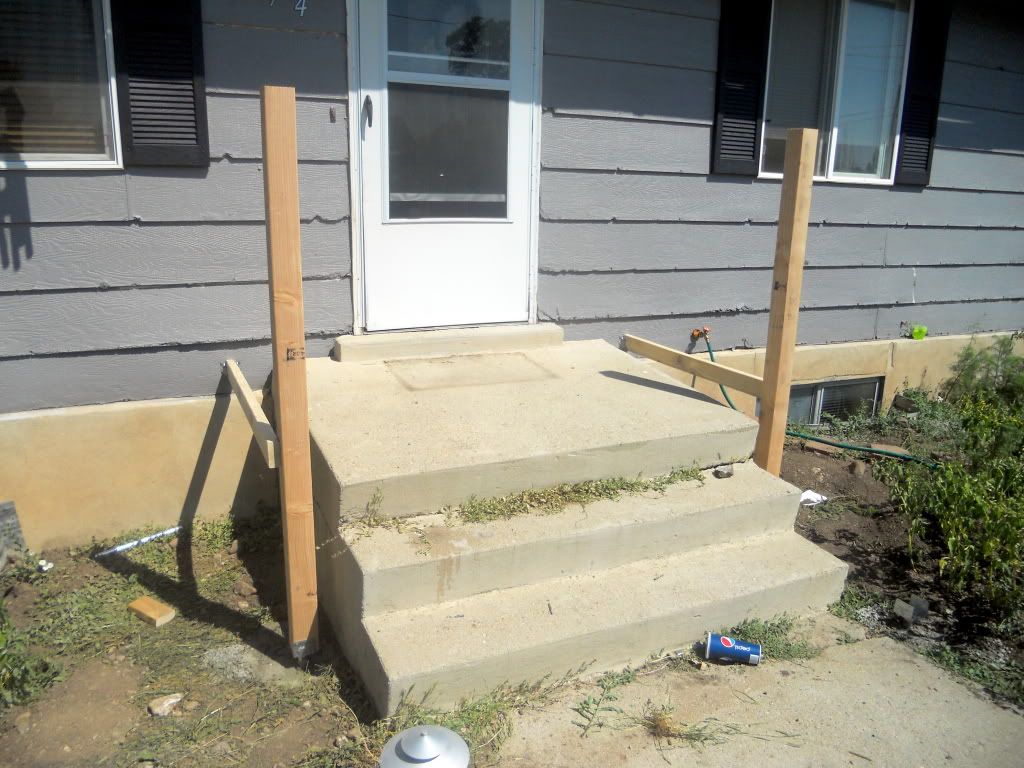
We couldn't put the other two posts in yet since the concrete hadn't cured completely, we started building the top platform. Yes, it's perfectly level, as opposed to the concrete porch we are building over. Notice any difference between the two? yeah, it was 6 inches higher. Crazy!

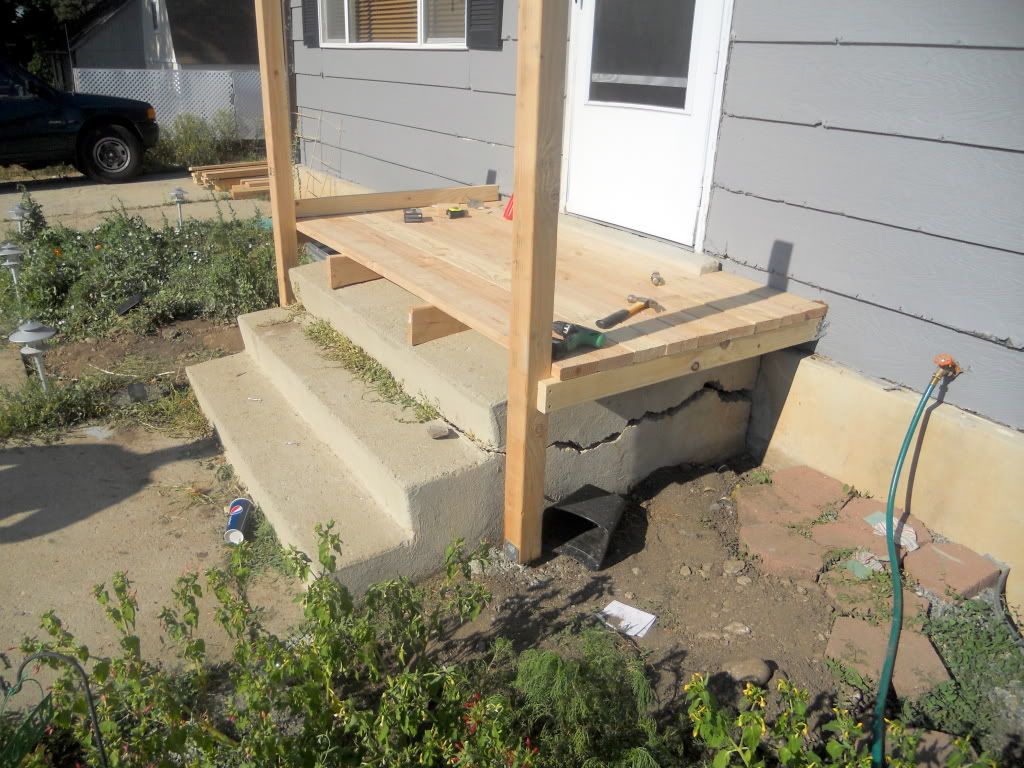
Another view of new porch over the previous one. Awesome crack!
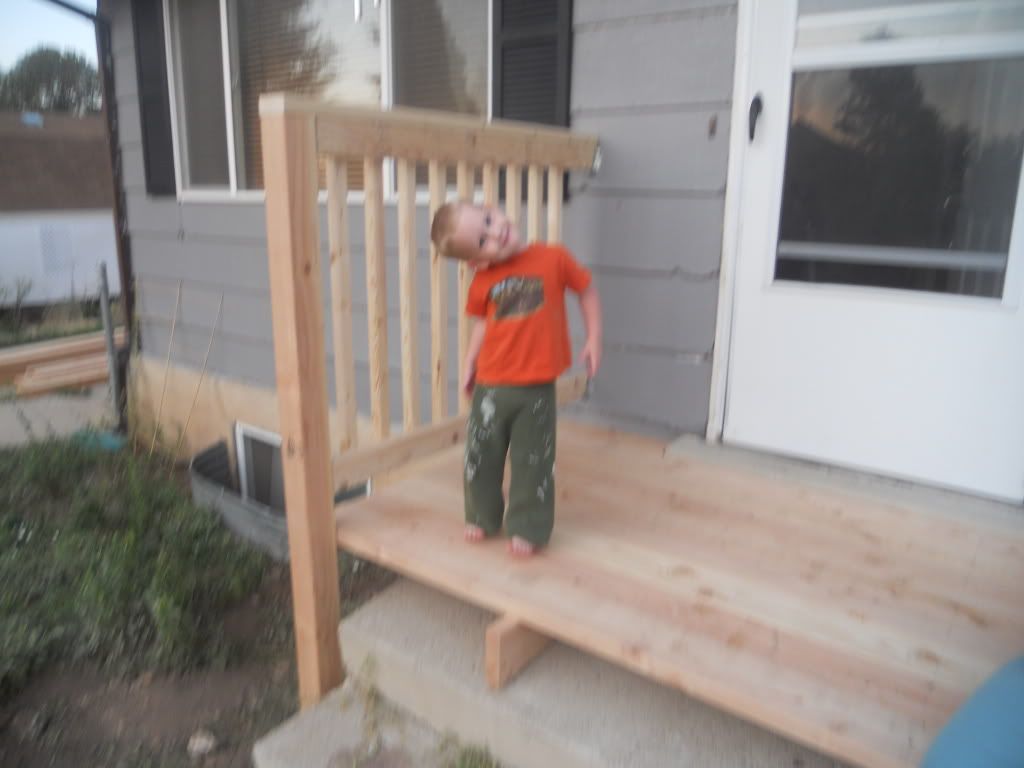
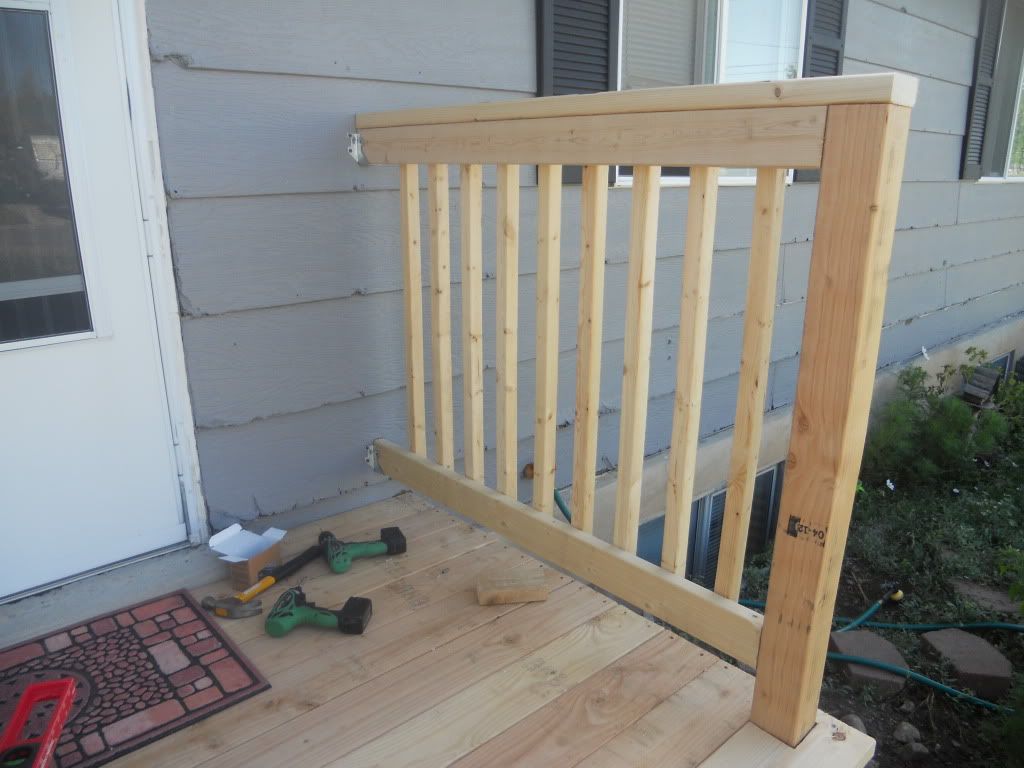
We had enough daylight to put up the railing on one side.

My little poser :)
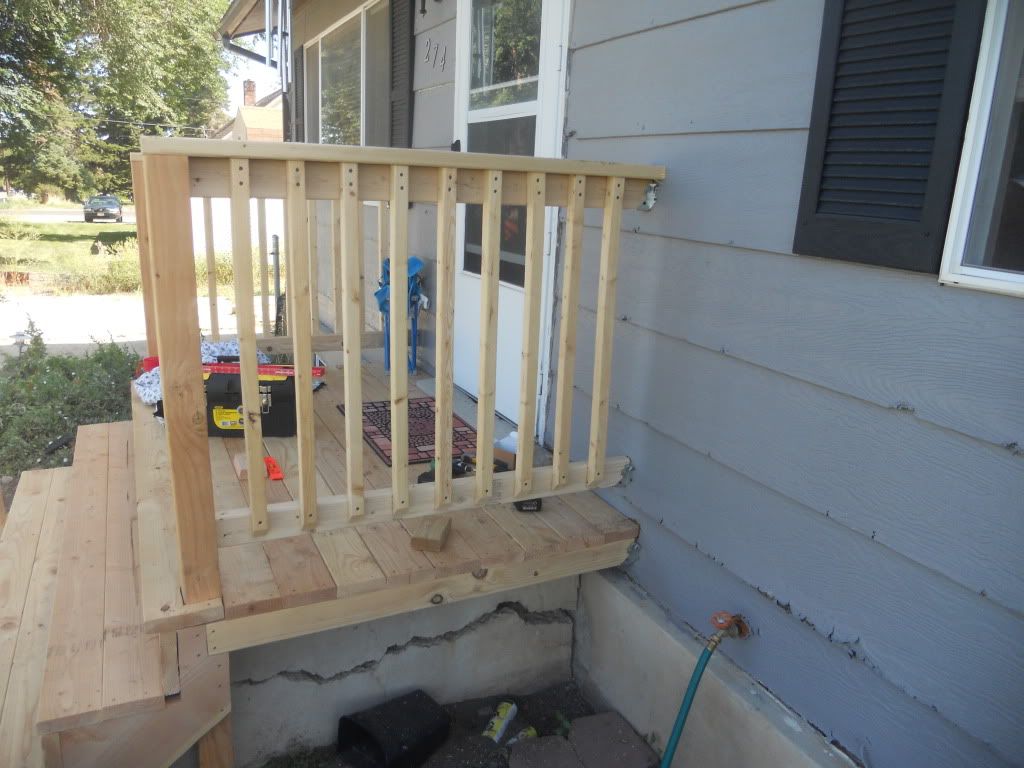
After work the next day, we were able to get the other side done.
Looks pretty, doesn't it?
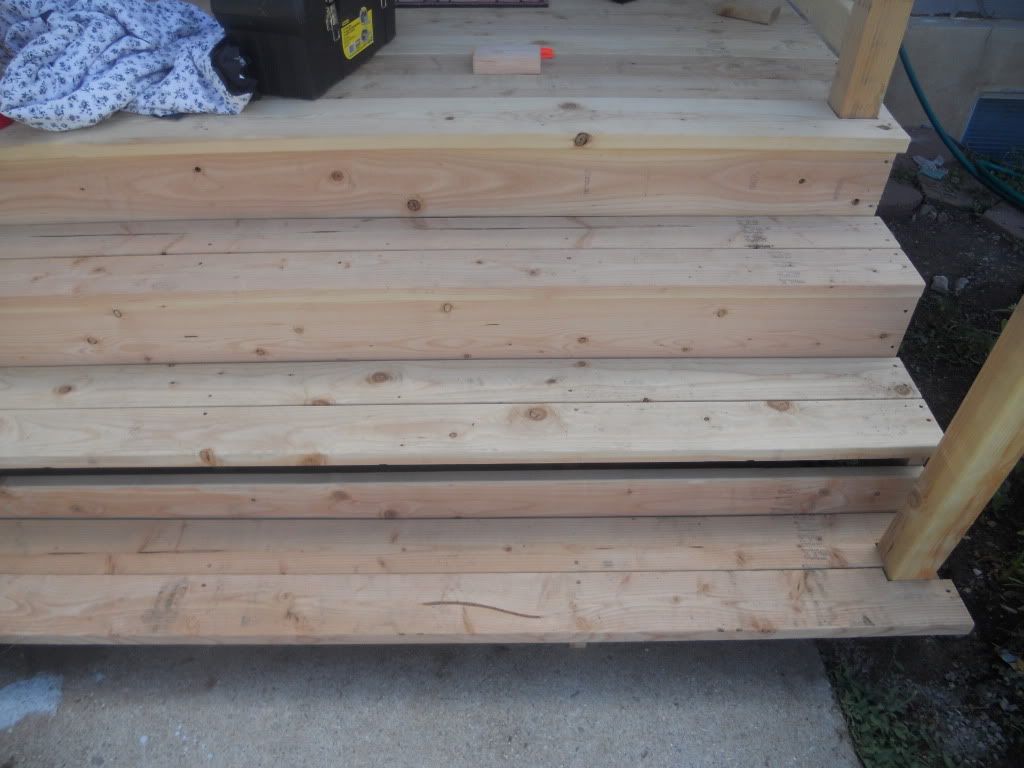
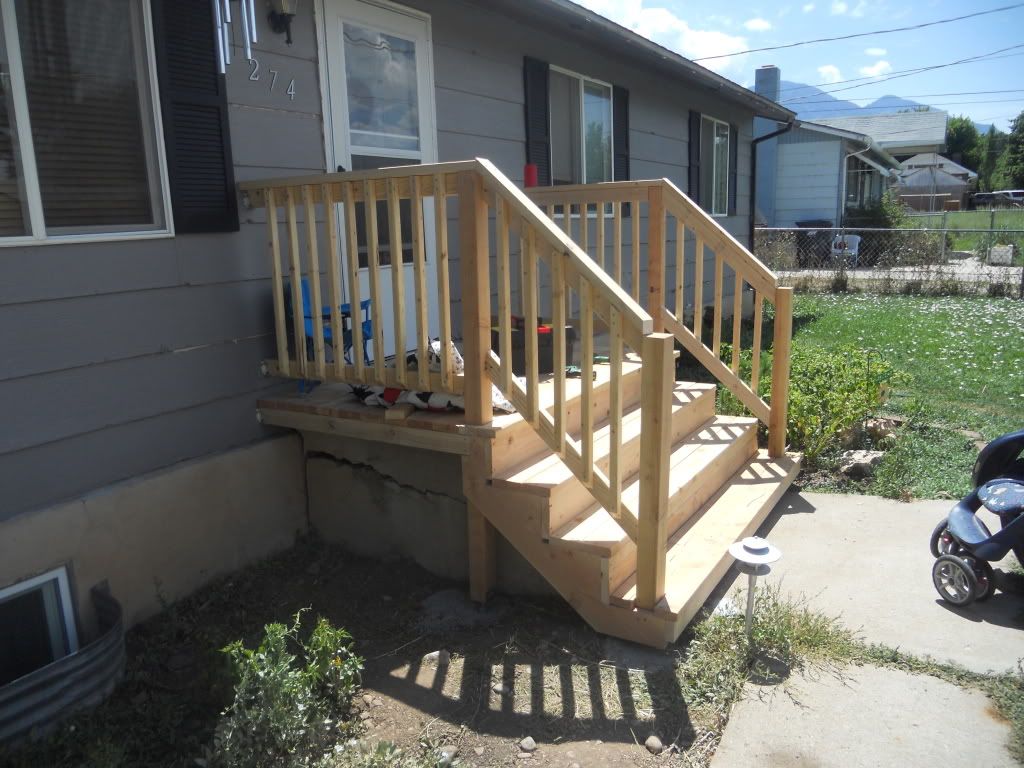
After a really stressful Saturday, we were able to get the stairs in.

We had to change plans a bit as we were building because my original measurements of the old porch were a bit off, and I needed to figure out new dimensions for the stairs - which meant we didn't have all the wood we needed. But we made it work.
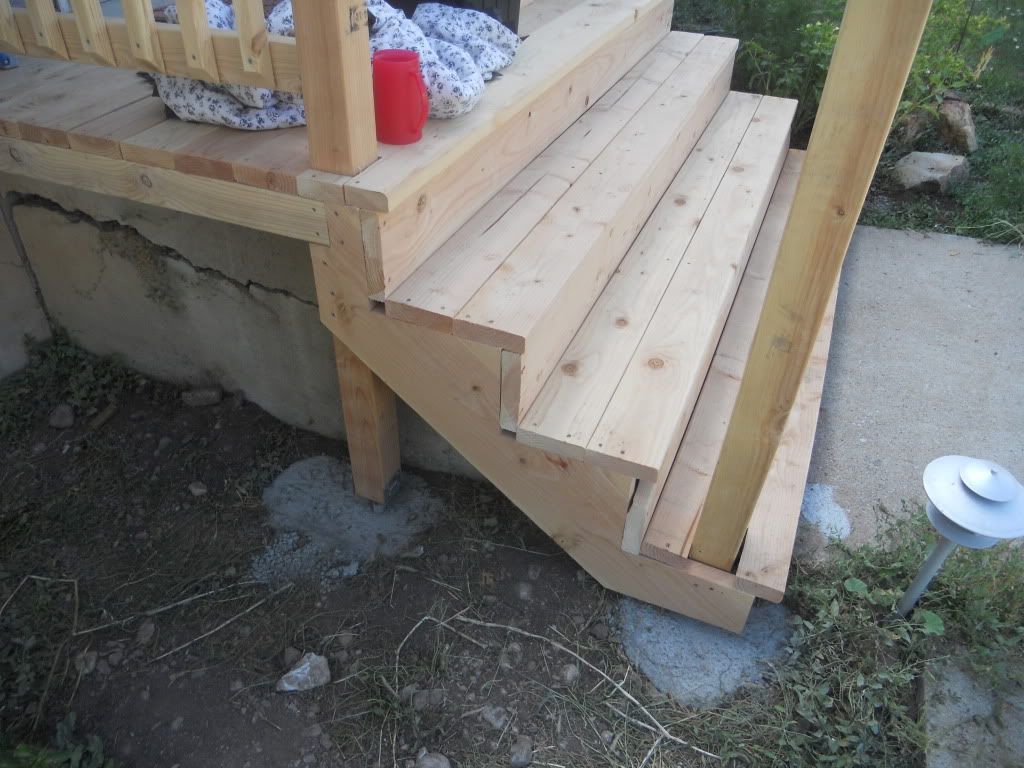
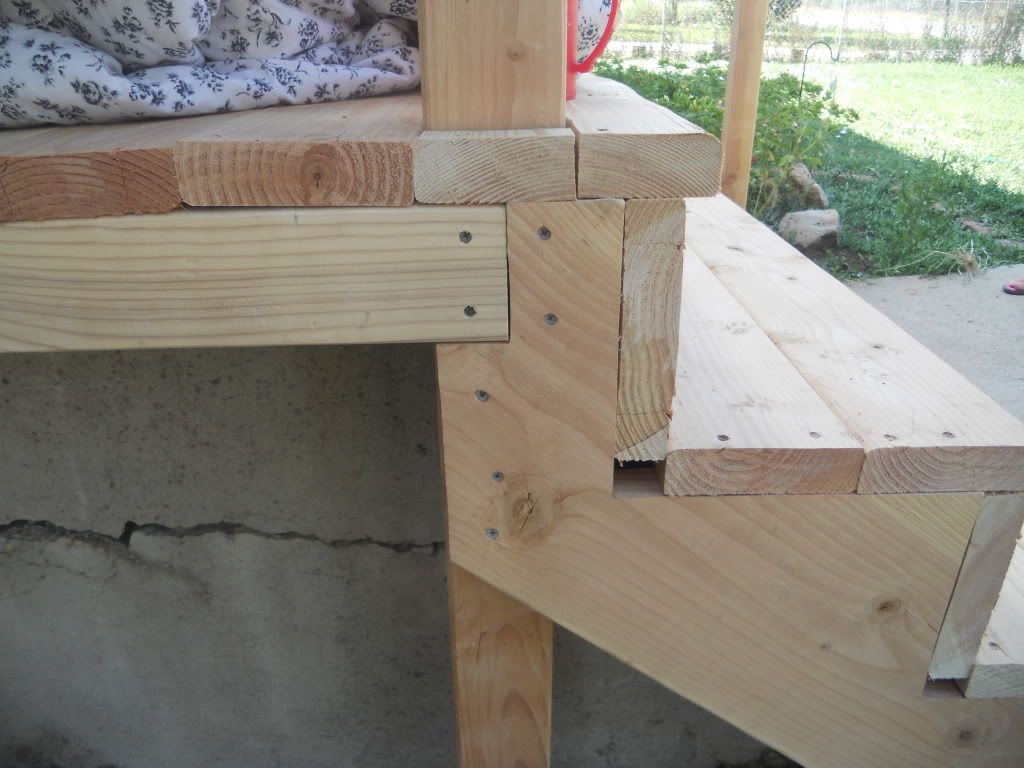
Josh absolutely loves this joint where the stair frame we made fits onto the post and the rest of the porch :)
Almost done!!!
After the walnut stain and sealant.
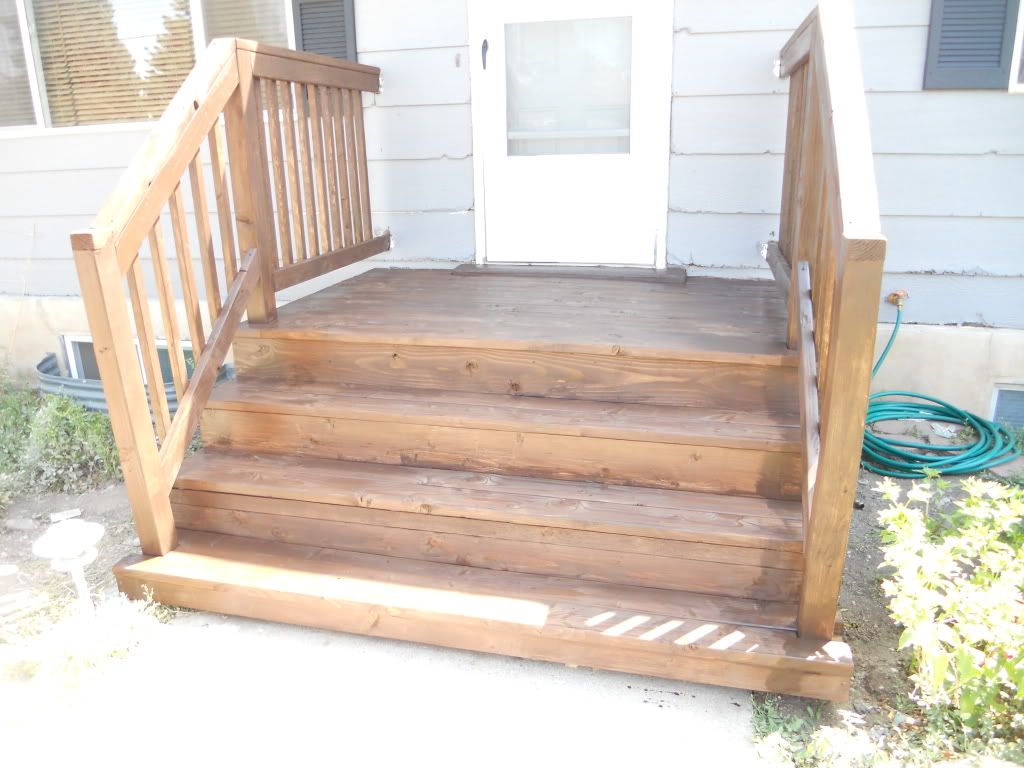
I love how dark it is.
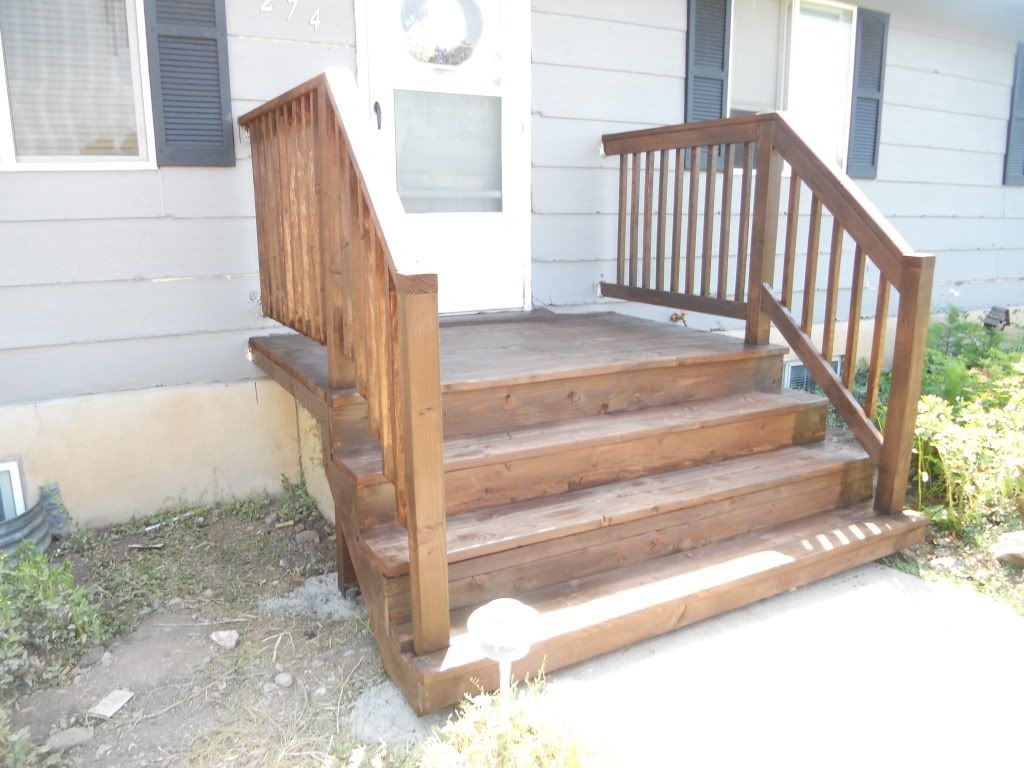
Finished product over the old porch *shudders*

LET'S REVIEW:
This is what our house looked liked when we bought it. Gorgeous, right? Or not...

And after a few renovations, this is what it looks like now!

I found your blog post through a pin on Pinterest. Thank you for sharing all the photos!
ReplyDeleteWell Done, great job!
ReplyDeleteNice Job 👍,if I can make a suggestion add piece lattice on the side will hide cracked porch plus add some flair to your porch
ReplyDeleteBeautiful Job! I'm just wondering why you didn't cover the sides in order to hide the cracked concrete? I have a similar situation that I'm working on, and your project is really going to help me through it, so thank you!
ReplyDeleteThank you for this. I have a small porch at my back door that has no issues but I would like to have a larger deck area and was wondering about building over the old concrete porch.This answers a lot of those questions.
ReplyDeleteLove this! Thank you! I too want to build a deck over my treacherous stairs. Your story has helped me so much. P. S. Your little guy is adorable!
ReplyDeleteGreat Job! Looks awesome. Just an FYI for anyone considering a project like this. If you plan on pulling a permit to do this (most places would require that because it is the front entrance) it would not meet most building codes. The reason your landing is a step below your door threshold is to prevent snow buildup from leaking back under the door. (I know, a little silly maybe, but it is the code.) Take that into consideration when planning your project. This could have been done with sleepers instead of joists on the landing, looked just as nice, and met code.
ReplyDelete