
Wall Night Light
Step 1: Take old lamp apart. Just take the shade off, the light bulb out, and unscrew the base so that you can move the wires freely. My lamp was pretty basic, and in order to get the wires out of the base, I just had to "unplug" them from the socket the lightbulb is screwed into. While doing this, make sure you mark or remember which wires go where, so you can put them back once the base is completely off the wires (afterall, you want the light to work again).

Step 2: Make a box. I would normally break out the leftover wood I have lying around the house and build a box, but I lucked out and had part of a game set that had all its pieces missing, so I just reused that. If you do build a box, just make sure it's about 10-12 inches square, and will leave enough width for the lightbulb to fit inside without touching the walls. Also, you'll want to put a hole in the bottom for the wires to feed through.


Step 4: Cover the box. To create a dimmer light emanating from the box, I used a thin piece of scrap cloth. You could also use tissue paper, rice paper, glass or plexiglass (frosted or painted to dim the light). Make sure that if it is cloth, or similar material, that you leave enough extra around the edges to wrap around to the back of the box; otherwise, make sure the material you are using fits the size of the front opening of the box.

Step 4a: Wrapping the top. Put a line of hot glue on the back of the box along the top edge, the wrap the cloth around from the front to the back, securing it along the glue line (see picture above).
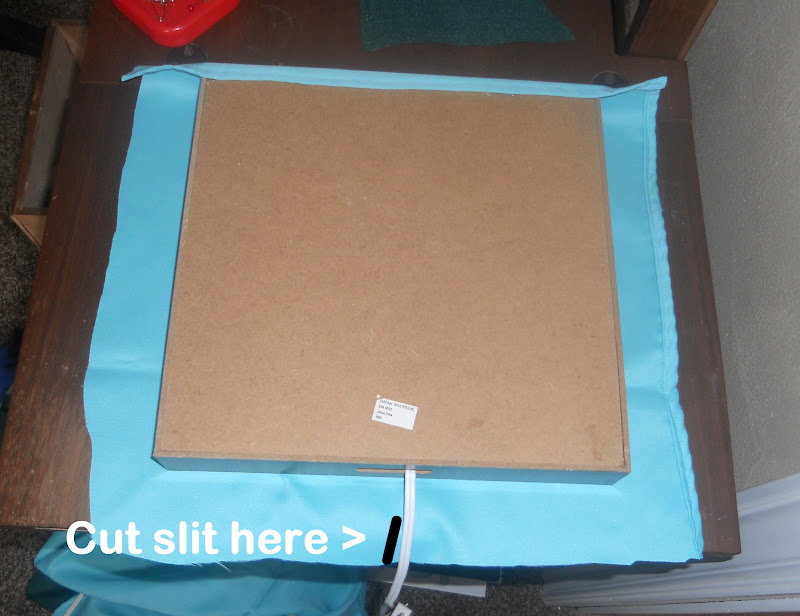
Step 4c: Wrapping the sides. Put a 1-2 inch line of hot glue in the middle of one of the sides along the edge and wrap the cloth similarly as the top and bottom. Do the middle of both sides before moving on to the rest of the side. Don't worry about the corners until the next step. Make sure you are pulling the fabric tight the entire time so that the front of the box will be wrinkle-free and not saggy.
Step 4d: Gluing the corners. Pull the fabric of one of the corners to one side, similar to wrapping a present. Then put a diagonal line of hot glue on the corner working towards the middle of the box. Grab the corner and carefully wrap it around the other side and towards the line of glue. Repeat this process for all 4 corners.


Step 5: Preparing to hang the night light. I used a drill with a 1/4" drill bit to cut some holes for the nail in the wall to hold onto. I just drilled 3 holes right next to each other. Then, I figured out where I wanted the light to hang in my son's room, and put a nail in the wall. You could use those picture-hanging brackets, but I wanted the light fixture to be flush with the wall, and this seemed the easiest way for me to do it.

Step 6: Show it off and have happy dreams! My son thought it was really cool when I took him to his room and switched on the light. Hopefully he'll forgive me for tearing his lamp apart so that we can both sleep peacefully through the night. Good luck with your projects, and share with me your versions!

No comments:
Post a Comment